#get root access$su -$ cd /tmp#Remove old Ruby$ yum remove ruby# Install dependencies$ yum groupinstall "Development Tools"$ yum install zlib zlib-devel$ yum install openssl-devel$ wget http://pyyaml.org/download/libyaml/yaml-0.1.4.tar.gz$ tar xzvf yaml-0.1.4.tar.gz$ cd yaml-0.1.4$ ./configure$ make$ make install# Install ruby$ wget http://ftp.ruby-lang.org/pub/ruby/1.9/ruby-1.9.3-p194.tar.gz$ tar zxf ruby-1.9.3-p194.tar.gz$ cd ruby-1.9.3-p194$ ./configure$ make$ make install# Update rubygems$ gem update --system$ gem install bundler#Test ruby and rubygems are working#Close shell and reopen for changes to take effect$ruby -v$gem --version# Rails$ yum install sqlite-devel$ gem install rails$ gem install sqlite3
Tuesday 1 October 2013
How to Install Ruby & Rails on CentOS, Fedora or RedHat
Thursday 12 September 2013
Installing LXC ( Linux Containers ) With LXC Web Pannel In Ubuntu

What is LXC
Linux Containers (LXC) are lightweight virtualization technology and provide a free software virtualization system for computers running GNU/Linux, This is accomplished through kernel level isolation, It allows one to run multiple virtual units (containers) simultaneously on the same host.- manage resources using PCG ( process control groups ) implemented via cgroup filesystem
- Resource isolation via new flags to the clone(2) system call (capable of create several types of new namespace for things like PIDs and network routing)
- Several additional isolation mechanisms (such as the “-o newinstance” flag to the devpts filesystem).
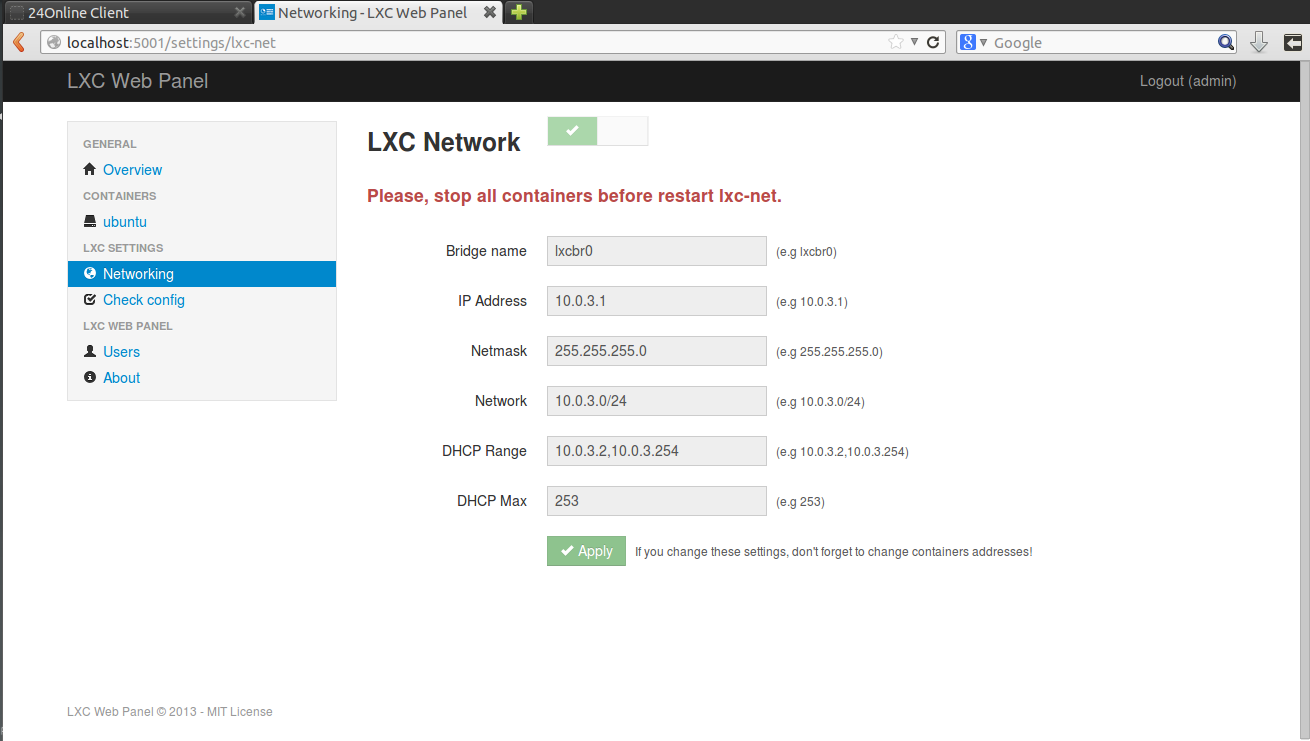
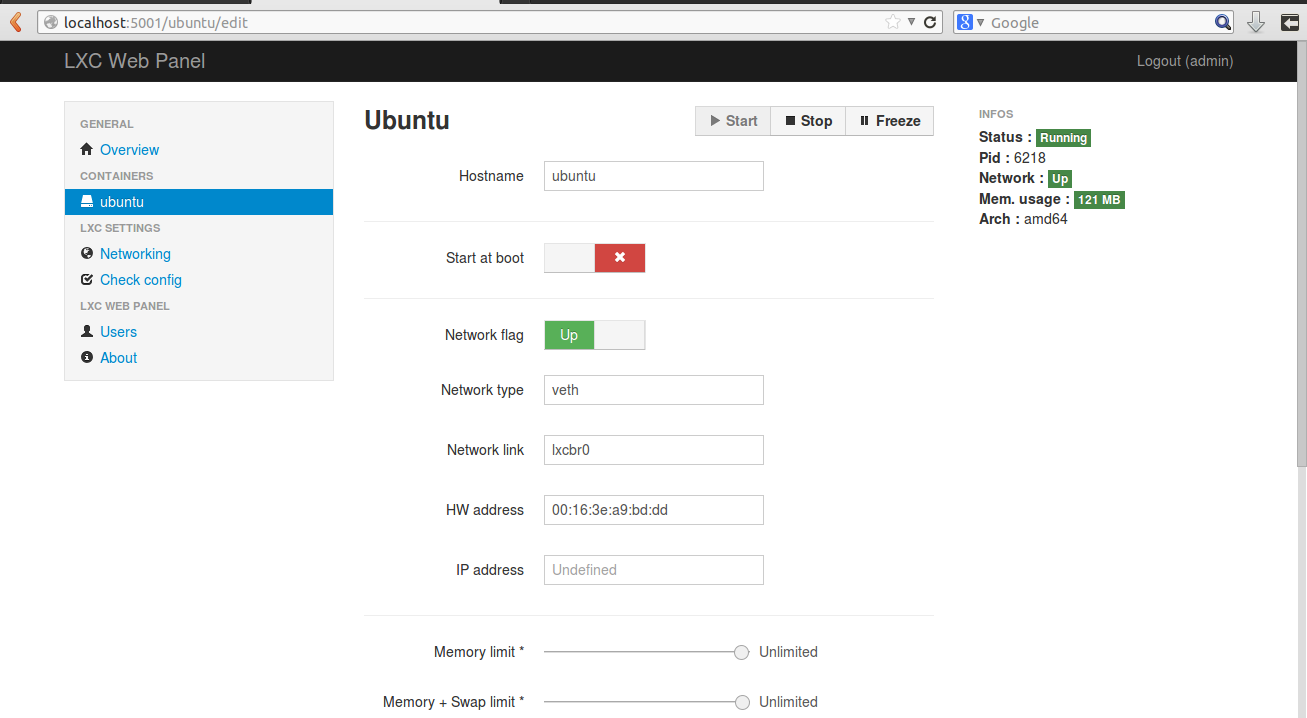
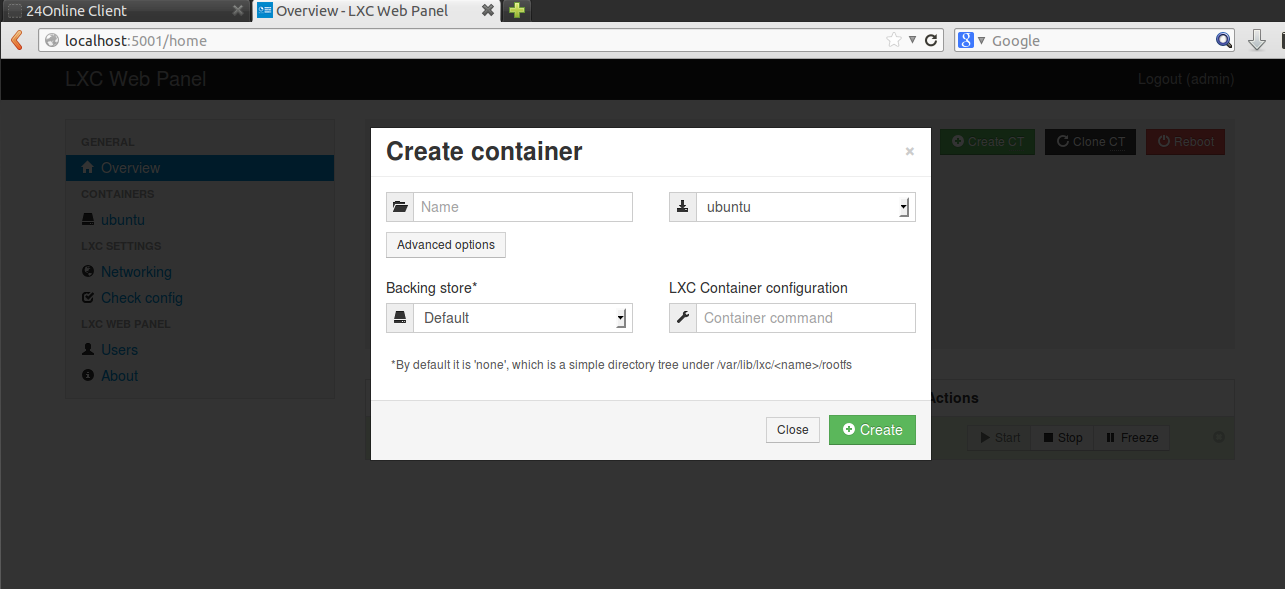
Installing LXC ( ubuntu 13.04 )
$ sudo apt-get install lxc
Creating container$ sudo lxc-create -t ubuntu -n ubuntu
$ sudo lxc-start -n ubuntu$ sudo lxc-console -n ubuntu -t 1
$ sudo apt-get install lxc debootstrap bridge-utils -y
$ sudo su
$ wget http://lxc-webpanel.github.com/tools/install.sh -O - | bashopen broswer
http://localhost:5000
username : admin
password admin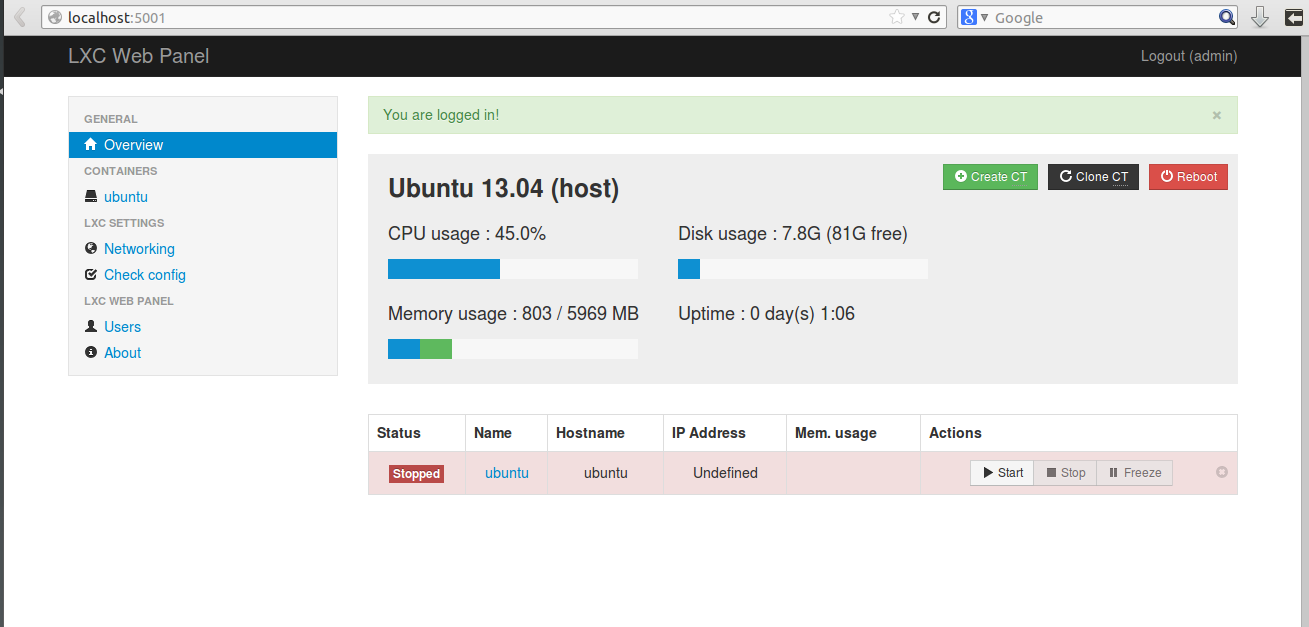
useful links :
- https://help.ubuntu.com/community/LXC
- https://help.ubuntu.com/12.04/serverguide/lxc.html
- http://lxc.sourceforge.net/index.php/about/lxc-development/
- http://lxc-webpanel.github.io
Source : http://www.computersnyou.com/2123/2013/07/installing-lxc-with-lxc-web-pannel-in-ubuntu/ By On
Fail2Ban is an intrusion prevention framework written in the Python
Introduction
Fail2Ban is an intrusion prevention framework written in the Python programming language. It works by reading SSH, ProFTP, Apache logs etc.. and uses iptables profiles to block brute-force attempts.
Installation
To install fail2ban, type the following in the terminal:
sudo apt-get install fail2ban
Configuration
To configure fail2ban, make a 'local' copy the jail.conf file in /etc/fail2ban
cd /etc/fail2ban
sudo cp jail.conf jail.local
Now edit the file:
sudo nano jail.local
Set the IPs you want fail2ban to ignore, the ban time (in seconds) and maximum number of user attempts to your liking:
[DEFAULT]
# "ignoreip" can be an IP address, a CIDR mask or a DNS host
ignoreip = 127.0.0.1
bantime  = 3600
maxretry = 3
Email Notification
Note: You will need sendmail or any other MTA to do this.
If you wish to be notified of bans by email, modify this line with your email address:
destemail = your_email@domain.com
Then find the line:
action = %(action_)s
and change it to
action = %(action_mw)s
Jail Configuration
Jails are the rules which fail2ban apply to a given application/log:
[ssh]

enabled = true
port    = ssh
filter  = sshd
logpath  = /var/log/auth.log
maxretry = 3
To enable the other profiles, such as [ssh-ddos], make sure the first line beneath it reads:
enabled = true
Once done, restart fail2ban to put those settings into effect
sudo /etc/init.d/fail2ban restart
Advanced: Filters
If you wish to tweak or add log filters, you can find them in
/etc/fail2ban/filter.d
Testing
To test fail2ban, look at iptable rules:
sudo iptables -L
Attempt to login to a service that fail2ban is monitoring (preferably from another machine) and look at the iptable rules again to see if that IP source gets added.
External Links
- http://www.fail2ban.org/wiki/index.php/Main_Page - Official Fail2ban Website.
Remarks (Robert van Reems): To test fail2ban on Ubuntu 12.04 server edition a reboot is required. Restarting or reloading the service didn't work.


Wednesday 11 September 2013
Solve Windowns 7 Network Connection Error
Finally i solve the issue.
Start => Run =>services.msc
You 'll found Netlogon services..
double click that service.after that select startup
Type : automatic =>Apply .
Then press Start ( this time start your netlogon service )
Apply==>OK If you find any other way please lets me know ..
Start => Run =>services.msc
You 'll found Netlogon services..
double click that service.after that select startup
Type : automatic =>Apply .
Then press Start ( this time start your netlogon service )
Apply==>OK If you find any other way please lets me know ..
Subscribe to:
Posts (Atom)
-
How To Hide and unhide the hard disk Volumes using CMD Commands : First check how many drives are there in my computer and then s...
-
VMWare Workstation doesn't ship in a deb, so it isn't registered in dpkg (which is why you can't find it in the software center...
-
Issue: You go to activate Microsoft Office 2010 and you receive a message stating, “Your copy of Microsoft Office Professional Plus 2010 ca...

